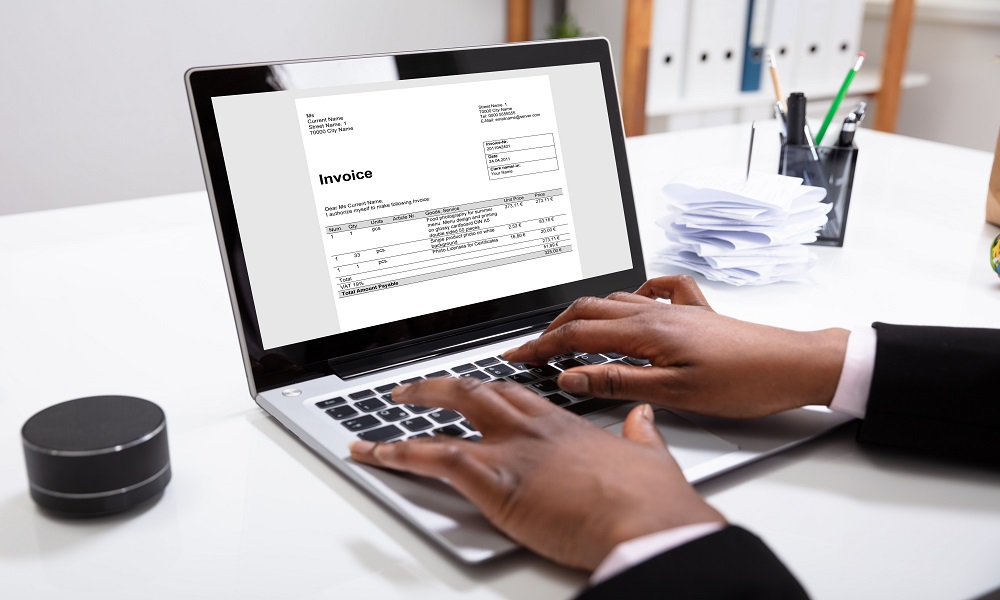
For effective management of financial transactions in any business, cash bill receipts for sales must be drawn up on an Excel spreadsheet to aid in time-saving and error reduction. With simple formulas and formatting, a cash bill receipt excel (บิลเงินสด ใบเสร็จรับเงิน excel, which is the term in Thai) looks professional and automated while maintaining better record-keeping in Excel.
How to Create a Cash Bill Receipt in Excel?
· Setting Up the Cash Bill Receipt Template
To begin with, open a blank worksheet in Excel and make an arrangement for the receipt. The receipt should have main details like the name of the business, the receipt number, the date, customer particulars, an itemized list of goods or services, the grand total, and the payment mode. Formatting will be essential to make the receipt look professional. Headings can be placed in bold, column widths adjusted to suit the data, and borders can be applied to separate various sections.
· Automating Calculations with Excel Formulas
The other factor that will make this receipt attractive is the use of formulas to automatically make certain calculations. For example, the total price for each item can be calculated using the formula =Quantity * Unit Price. For subtotal, we can use =SUM(Total Price Column), where we ensure that all item prices are accurately added. In a case where the tax applies, it gets deducted from the subtotal, while the total amount is the subtotal plus the tax. This way, formulas eliminate manual error and ease the receipt update.
· Generating Automatic Receipt Numbers
One number should be given to each receipt for record keeping. Therefore, it is suggested that separate receipt invoice numbers be created using Excel (e.g., =ROW(A1) for sequential numbering). If one wants a modified numbering system, one may choose to have a combination of text and numbers through the formula =INV-” & TEXT(ROW(A1), “0000”), thereby maintaining some sort of coherence in the receipts.
· Using a Dropdown List for Payment Methods
To facilitate the process of entering data, set up a dropdown list, specifying payment methods such as Cash, Card, UPI, or Bank Transfer. This can be achieved using the Data Validation options in Excel and will ensure incorrect entries cannot be made, maintaining uniformity in the receipts.
· Saving and Printing the Receipt
Saving the invoice as a PDF after completion would ease the sharing process engaged with the customers. Navigate to File > Save As > PDF > make layout adjustments to ensure all details fit in neatly to the page, allowing both soft- and hard copies, thus making record-keeping more organized.
Conclusion
Creating cash bill receipts in Excel takes work out of the billing process and provides an assurance of accuracy and professionalism. With the help of automation options such as formulas, sequential numbering, and dropdowns, all of which facilitate time-saving and efficiency, Excel is indeed a much sought-after option. Whether small business or freelancer, Excel provides an effortless way of managing financial transactions.

